
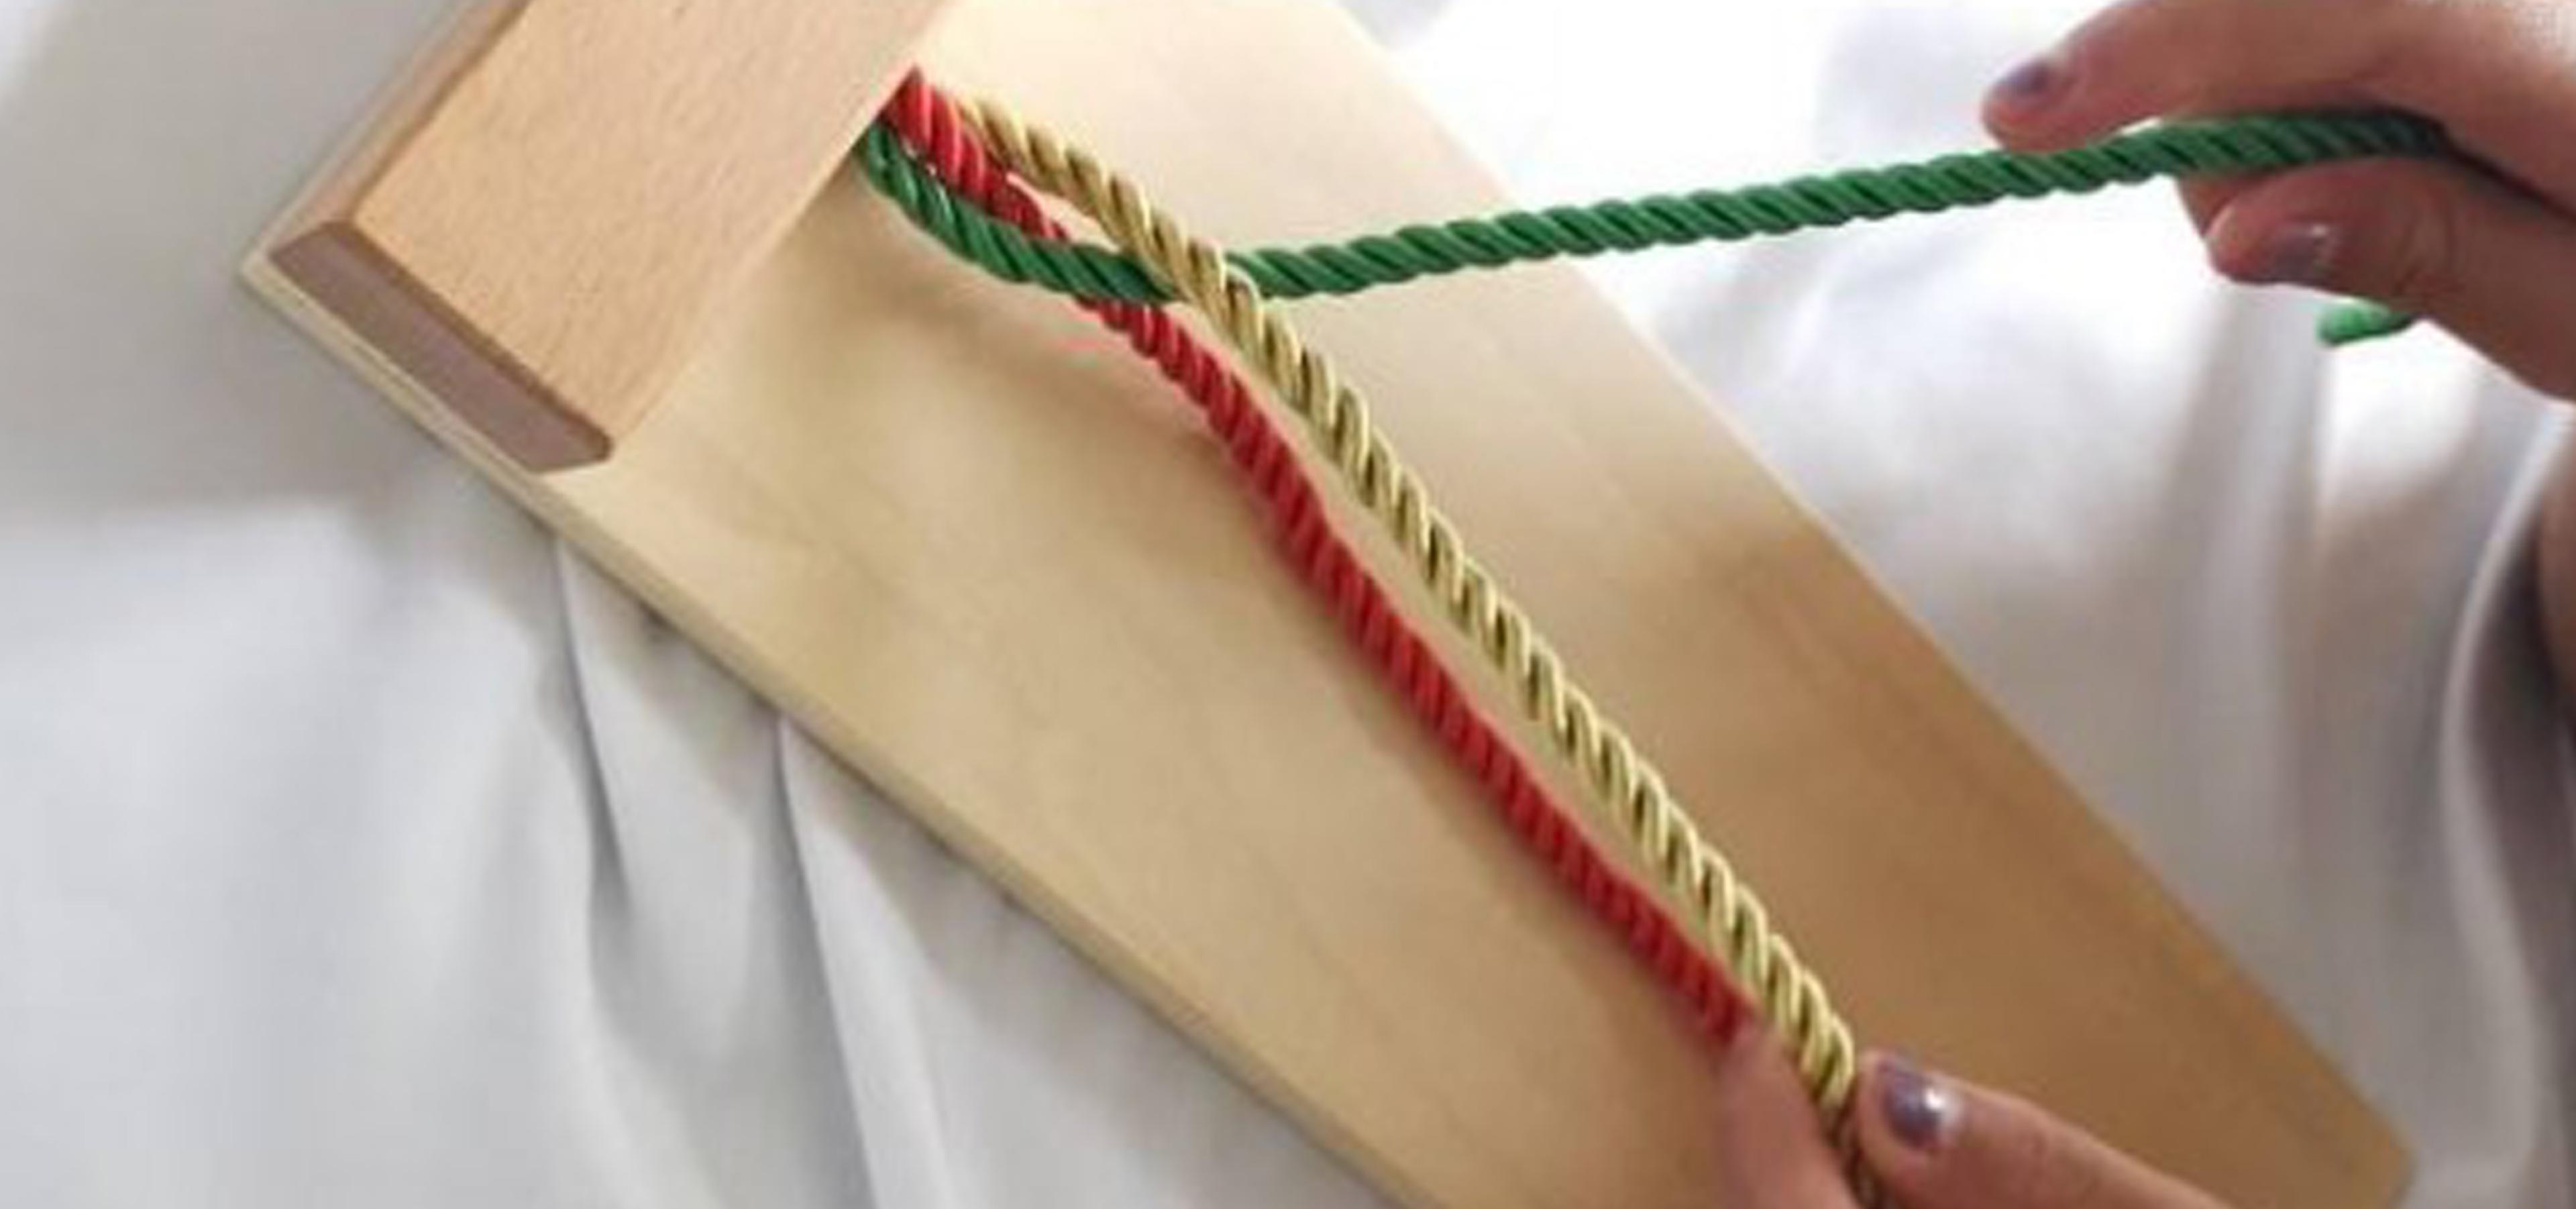
Montessori education emphasises practical life activities that help children develop independence, concentration, and coordination. One such activity is braiding, which can be introduced to children as young as three years old. Braiding helps develop fine motor skills, hand-eye coordination, and a sense of order.
Materials Required
To start the braiding activity, you'll need the following materials:
- Three pieces of yarn in different colours. Each piece should be approximately 18 inches long.
- A small clip to hold the yarn in place.
- A piece of cardboard or a braiding disc.
The Braiding Process
Step 1: Take the three pieces of yarn and tie them together at one end. Use the clip to hold the knot in place.
Step 2: Arrange the yarn so that one piece is on the left, one is in the middle, and one is on the right.
Step 3: Hold the yarn in place with your non-dominant hand, using your fingers to keep each piece separate.
Step 4: Take the piece of yarn on the left and cross it over the middle piece. It should now be in the middle.
Step 5: Take the piece of yarn on the right and cross it over the middle piece. It should now be in the middle.
Step 6: Repeat steps 4 and 5, alternating between the left and right pieces of yarn, until you have braided the entire length of the yarn.
Step 7: When you reach the end of the yarn, tie a knot to hold the braid in place.
Using a Braiding Disc
If you are using a braiding disc, the process is a little different. The braiding disc has three or more slots to hold the yarn in place, making it easier for children to keep the yarn separate.
Step 1: Thread one piece of yarn through each slot on the braiding disc.
Step 2: Move the yarn in each slot so that one piece is on the left, one is in the middle, and one is on the right.
Step 3: Take the piece of yarn on the left and move it into the middle slot.
Step 4: Take the piece of yarn on the right and move it into the middle slot.
Step 5: Rotate the braiding disc so that the next empty slot is on the left.
Step 6: Repeat steps 3 to 5 until you have braided the entire length of the yarn.
Step 7: When you reach the end of the yarn, tie a knot to hold the braid in place.
Benefits of Braiding Activity
- Helps develop fine motor skills, hand-eye coordination, and a sense of order
- Teaches children to follow a sequence of steps, which is an important skill for future learning.
- This is a calming and meditative activity that helps children relax and focus.
Braiding is a simple yet effective activity that can be introduced to children in a Montessori environment. By providing the materials and guidance needed to braid, children can develop important skills that will serve them well in their future learning and development. So, grab some yarn and a braiding disc and start braiding with your little one today!